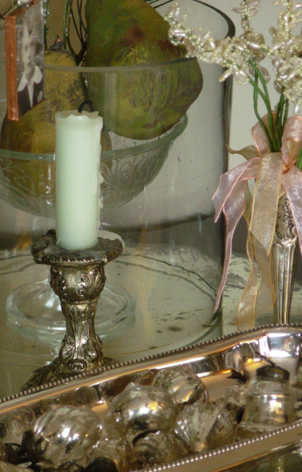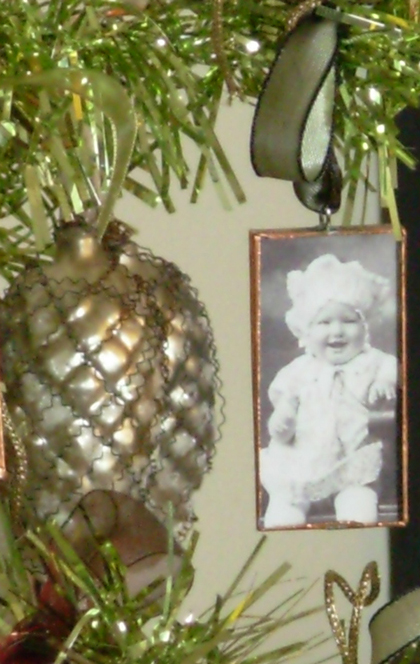
Greetings on a snowy day!
I thought you might like to see my
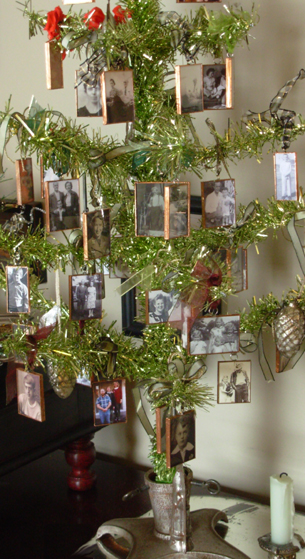
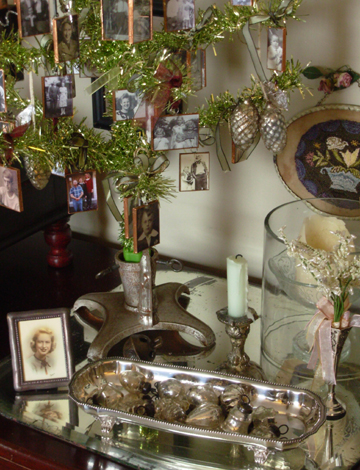
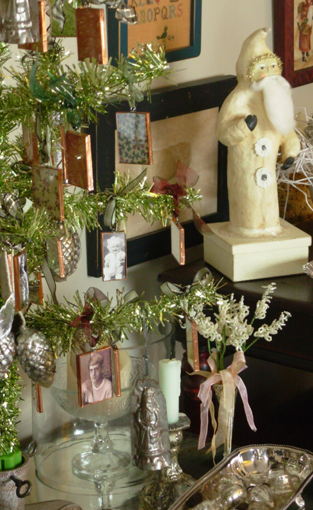
family tree. This is my favorite tree to set up. Each year I
make some new ornaments of family members for this tree. In the
first years I made ones of my family members. I used photos
from the ‘30s, ‘40s, ‘50s and recent: my dad
in the military, my mom as a child, my Aunt when she got
married and so on. Now, I’m adding my
husband’s side of the family. I ask family members if
they will share their pictures for a day. Usually they have
pictures of family members that I might not have.
These ornaments are fairly simple to
complete. Two pieces of clean glass and a roll of 1/4” wide copper or
silver tape are about all you need. Well, there are some other
supplies you need too, but I will tell you about them later.
The guys at my local True Value hardware store cut the glass
for me each year. My two favorite glass sizes are 1” x 2” and 1-1/2” x 2”.
I take the family pictures to Kinkos
and use the color copier for both the black & white and color pictures. I
place enough pictures down on the screen to fit the full area.
If there are some larger pictures, I reduce them in size. Take
a piece of the glass with you to see how you will crop each
picture. Generally, snapshots are not reduced in size.
After copying all the pictures I
might need, I wash two pieces of glass. I use an old book page,
fabric or decorated paper for the backing of the ornament. If
you have an old letter that has the person’s handwriting,
what a treat! Use that by all means for the backing. Position
the backing on a cutting mat. Position the picture on top of
the backing. One piece of glass is placed over the picture,
highlighting the area you want to frame. Cut out the picture
and backing with a rotary cutter using the glass as the
straight edge for the cutter. After the picture and frame are
cut out, sandwich them between two pieces of glass. Begin at
the bottom of the ornament and center the copper or silver tape
over the glass edges. Run the tape around the ornament to cover
the exposed glass edges. Burnish the tape edges over to the
front and back glass. This creates a bit of a frame for the
picture.
Visit a stained glass shop, if you
have one close-by. They will have all of the supplies you need
for this project. Plus they offer kind advice and help. The
stained glass shop will have a product that you
can paint around the copper to blacken it.
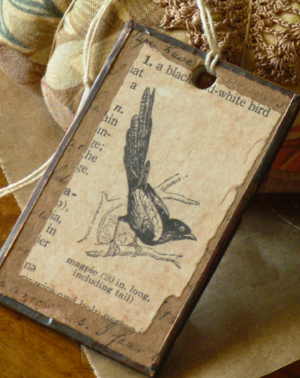
My local shop had Novacan Black Patina. The small picture
of the bird tag (right) shows copper tape that has been treated
with the black patina product.
 | ||
If you are not so lucky to have a
local stained glass shop, a craft store like Hobby Lobby will
carry the supplies.
Ring findings located in the beading
or jewlery making department are soldered onto the top of the
ornament. Thread a bit of ribbon through the ring findings and
these ornaments are ready to hang.
